How to Store Garden Tools
As an Amazon Associate we earn from qualifying purchases.
Good storage starts before the tools reach the shed. Knowing how to store garden tools well means cleaning, drying and oiling each one first, then choosing a dry place off the floor. The four university extension pages below agree on that routine, and they add useful detail on handles, hoses and hanging racks.
This guide follows their steps in order. Where a page gives a specific method, the quote is shown. Where a page gives no figure or timing, the guide says so rather than filling the gap.
Quick answer
- Clean each tool after use, then dry it fully before it goes into storage.
- Oil metal parts and treat wooden handles so they do not dry out or split.
- Store tools off the ground in a dry shed, garage or closet, and hang long-handled tools on racks.
- Check bolts, handles and blades before storage, and note what needs replacing.
Clean every tool after use
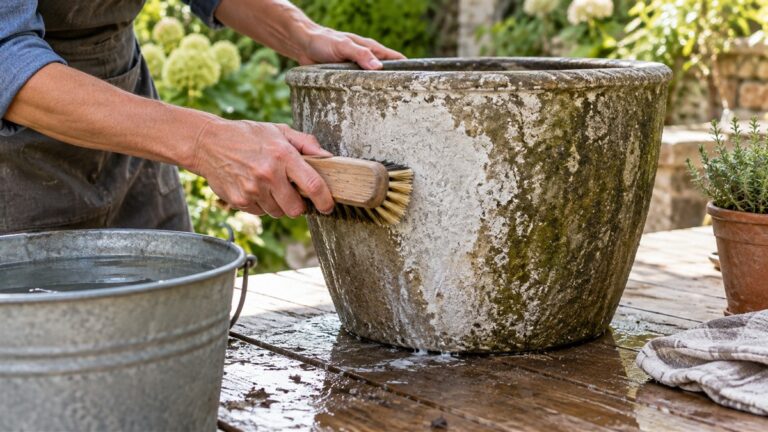
Cleaning comes first in every page. Wisconsin Horticulture says: “Always try to clean your tools after each use.” It adds: “Then remove any remaining soil using a cloth, bristle brush or wire brush.” University of Vermont Extension begins its steps the same way: “First, clean each item.” For most tools it says: “For most, spraying with water will get the job done.” Stubborn soil needs more effort: “Stubborn, dried-on soil can be removed using a stiff-bristled brush.”
Sap is the sticky part. UVM says: “Use warm water with a bit of dish soap to remove sap residue.” Wisconsin suggests “soapy water or turpentine” for sap on cutting tools. Either way, the goal is the same: clean blades before they go away for the season.
Remove rust and sap before storing
Rust is the reason clean tools matter. Washington State University Extension says: “The main enemy of most metal tools is rust.” For a rusted shovel or hoe, it advises: “To clean, soak rusty tools in a weak (1:1) vinegar: water solution for 24 hours.” UVM handles smaller spots: “Rust spots can be dealt with using steel wool or sandpaper.”
Work carefully on the metal. WSU says to “Use a light, circular motion rather than scraping to avoid thinning or scratching the metal beneath.” Wisconsin warns that abrasives “can leave scratches where rust can redevelop.” If you are buying new tools, WSU suggests: “To avoid rust problems, consider purchasing stainless steel tools.”
Protect your hands and eyes during this work. Illinois Extension says: “Wear appropriate personal protective equipment to protect eyes and hands while doing this.” WSU adds: “Be sure to wear safety glasses doing this procedure.”
Set up a simple cleaning station
WSU describes a cleaning station that makes the routine quick: “Set up a cleaning station with a stiff wire brush, a rag and a bucket filled with sand.” After a day in the garden, the steps are: “When your gardening day is done, use a stiff wire brush to dislodge the debris then rinse your tools using a stream of water from the garden hose.” Then the blade goes through the sand: “Drag the tool through the sand/oil mixture to coat the blade.”
The page explains why the mix works: “The oil coating will retard moisture and limit rust, and the sand helps provide abrasion to remove residual soil.” The same station can be used every season, so the routine becomes part of the year rather than a one-time job.
Dry each tool, then oil the metal
Drying is the step that is easiest to skip. UVM says: “Once clean, be sure to dry garden tools thoroughly.” Illinois Extension links drying to storage: “it is extremely important for tools to be clean and dry before storing”. Only then comes the coating. Illinois says: “Once clean and dry, apply an oil-based protective coating to any metal surfaces to prevent rust.” UVM suggests: “Before storing, wipe metal parts on hand tools with mineral oil to help protect from moisture.”
Wisconsin gives the order in one line: “Once tools are clean, rust-free and dry, apply oil, WD-40, silicone spray or some other rust inhibitor to all metal surfaces.” The sequence matters because oil on a wet or dirty blade traps the moisture the coating is meant to block.
Care for wooden handles
Wooden handles need as much attention as the metal. Wisconsin says: “Handles are an important component of all tools and need to be kept in good condition.” Its steps are to “Tighten loose screws or bolts as needed” and to “Clean handles with a stiff-bristle brush, and use medium grit sandpaper to smooth wood and remove splinters.” UVM warns: “Save yourself from splinters caused by rough wooden handles: smooth the surface with sandpaper then wipe on a light coating of mineral oil.”
For the finish, Illinois says to apply “a protective coating using boiled linseed oil”. Wisconsin gives the reason: “Use boiled linseed oil to prevent wood handles from drying out, cracking, and splintering.” WSU says the handles need the same care twice each season: “Twice each season sand the wood with medium grit sandpaper then rub with a slightly moistened linseed oil rag to create a protective layer.” WSU also notes: “Dry wooden handles can split or break.”
Linseed oil rags need caution. Wisconsin says: “Be sure to read and understand the linseed oil label; handled incorrectly, linseed oil soaked material can spontaneously ignite.” WSU adds: “Allow all oil rags to dry in the open air to avoid the risk of combustion.” Let the rags dry in the open air, as WSU says, before they go anywhere near the stored tools.
Check blades, bolts and handles before storage
Inspect each tool while you clean it. UVM says: “While cleaning each garden tool, take the opportunity to inspect it for damage and needed maintenance.” It asks: “Is a blade bent or a screw in need of tightening?” WSU says to “check that all tool bolts and screws are tight” before the tool goes away.
Sharpening belongs in this step too. Illinois says: “Before storing tools away for the winter, sharpen any dull tools used for digging or pruning and file down any nicks.” Wisconsin adds that sharpening should keep “their cutting edges” at “their original angle.” Illinois also warns against power grinders: “It is not advisable to use power grinding stones”. The reason it gives is: “Heat generated through friction can make the metal brittle.”
Choose a dry place off the floor
Illinois is direct about outdoor storage: “Do not leave tools outside where they can absorb moisture from wet grass and dew.” It advises: “Instead, store tools off the ground and away from potential moisture, such as in a shed, barn, or garage.”
WSU gives the same rule for the floor: “Keep them off the floor to prevent moisture, rust and dulling.” It also says to “Store items separately in a dry place such as a shed, garage or closet.” UVM asks for an organized storage space that is dry and safe from winter weather, rather than simply stashing everything in the garage or shed. A machine that must stay outside needs cover: WSU says to “Place a waterproof cover over any machine, such as a lawn mower, that must be stored outside due to lack of storage space.”
Hang long tools and use a pegboard for hand tools
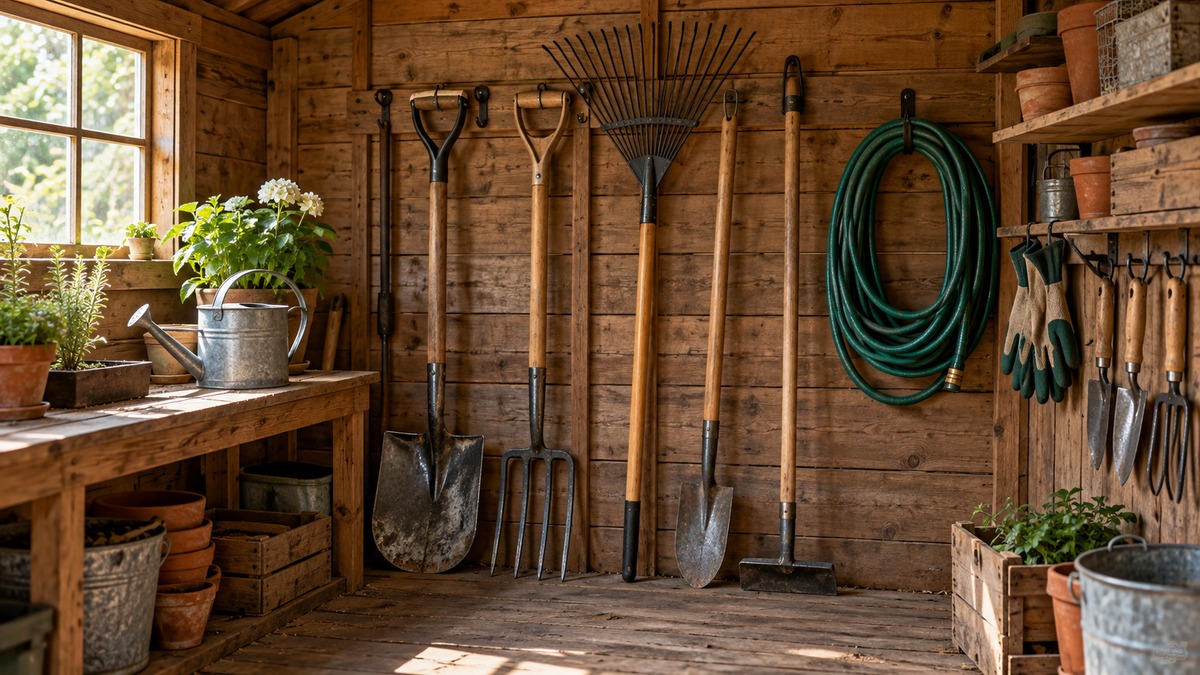
Illinois separates the two kinds of tool. It says: “Long-handled tools can be stored conveniently on hanging racks or tool holders, which helps prevent damage to sharpened edges and keeps the tools organized.” It adds: “Often more than one tool can be hung in a small area.” For hand tools, the page says: “Short-handled or hand tools can be stored using a pegboard system.”
WSU agrees on hanging: “Consider adding hanging racks or a pegboard rack system.” The pegboard has one more use. Illinois advises: “An outline of the tool drawn on the pegboard can help with identification of a missing tool”. If a tool goes missing, the page suggests a search outdoors first: “If a tool is missing, check outside.” It also recommends: “Attach bright marking tape to the handle of tools to spot them more easily outdoors.”
Keep an inventory of tools and parts
UVM suggests doing an inventory while the tools are out. List what you have, and note the replacements and accessories that would make next season easier. Keep a note of where each item lives, especially when parts are stored apart. The page’s example is a trimmer whose battery may be kept in a different place from the tool itself.
Hoses, batteries and powered tools
Hoses follow a short routine. UVM says to “Inspect them for leaks” and to “Drain any water remaining in each hose.” Then the hose can be stored: “coil and store on a hose rack or place on a flat surface.”
Batteries need indoor storage. UVM says: “While an unheated garage may be a good place for a string trimmer, its battery and charger should be stored together indoors away from freezing temperatures.” For powered tools, the page says to follow the manufacturer’s instructions for care and storage, and to use the manual if one is available.
Common mistakes to avoid
- Leaving tools outside, where Illinois says they absorb moisture from wet grass and dew.
- Putting away tools still caked with soil or sap, when Wisconsin says clean tools take less effort to use.
- Skipping rust treatment, even though WSU calls rust the main enemy of metal tools.
- Leaving oily rags in a pile, which WSU warns can create a combustion risk.
- Storing a battery and charger in an unheated space, which UVM advises against.
- Setting tools on the floor, where moisture and dulling come into play, according to WSU.
Frequently asked questions
Should garden tools go in the shed, the garage or a closet?
Any of these can work if the spot is dry and the tools are off the floor. Illinois lists a shed, barn or garage, and WSU lists a shed, garage or closet. The pages do not rank the three.
Do garden tools need oil before winter?
The pages recommend it for metal parts once the tools are clean and dry. Illinois describes an oil-based protective coating, and Wisconsin mentions “some other rust inhibitor” as an option.
What should be done about rust before storing a tool?
Soak a rusty tool in a weak vinegar and water mix for 24 hours, then use steel wool, as WSU describes, with a light, circular motion. Wisconsin notes that sandpaper and similar tools can leave scratches where rust can come back, so use them with care.
Can tools that are still a little damp be stored?
Dry them first. UVM asks for thorough drying, and Illinois says tools should be clean and dry before storing. Damp steel is the situation the coating is designed to protect against, so the drying step should not be skipped.
Do hoses need special storage?
UVM says to drain them, then coil them on a rack or lay them flat. The hose should be inspected for leaks at the same time.
How we chose
Four university extension pages, all opened on 2026-10-22, form the basis of this guide: the University of Illinois Extension article (dated September 27, 2021), the University of Vermont Extension article (dated October 31, 2025), the University of Wisconsin Extension Wisconsin Horticulture page (revised June 18, 2013) and a Washington State University Extension PDF (dated December 7, 2018). We chose pages that cover the whole storage routine: cleaning, drying, oiling, handles, location and hanging. Commercial blogs in the search results were left out, because they are not extension pages.
What we could not verify
The pages do not give a storage temperature, a humidity figure or a date by which stored tools should be checked. None of them names a product as a recommendation, and this guide does not either. The pages are dated 2013 to 2025, so the instructions should be read alongside the labels on any oil or cleaning product you use.
What the sources do not say
- The pages do not say how long tools can stay in storage or how often they should be checked.
- Only WSU gives a schedule for handles: twice each season. The other pages describe the finish without a schedule.
- The pages call for dry tools but give no measure of how dry is dry enough for a shed or garage.
Bottom line
Clean, dry and oil each tool, check its bolts and handles, then store it off the floor in a dry place. Hang long tools and use a pegboard for hand tools, so missing ones are easy to spot. For the next step, see preparing raised beds for winter, and once the tools are ready for spring, plan the crops with vegetables to plant in raised beds.
Sources
- https://extension.illinois.edu/news-releases/proper-maintenance-extends-lifespan-saves-money-garden-tools (opened 2026-10-22)
- https://www.uvm.edu/extension/news/smart-garden-tool-storage (opened 2026-10-22)
- https://hort.extension.wisc.edu/articles/maintaining-lawn-and-garden-tools/ (opened 2026-10-22)
- https://wpcdn.web.wsu.edu/extension/uploads/sites/57/2020/05/12-07-18_Garden-Tool-Care-Maintenance.pdf (opened 2026-10-22)