How to Dry Basil From Your Garden
As an Amazon Associate we earn from qualifying purchases.
Learning how to dry basil is mostly about speed and airflow. Basil holds a lot of moisture in its leaves, so it has to dry quickly or it can mold. The extension guides we opened agree that a paper bag, a dehydrator or a microwave can each handle a small harvest. They also agree that basil is a tender herb that needs care, and that drying changes its flavor more than it changes sturdier herbs. Read the trade-offs before you hang the first bunch.
Quick answer
- Harvest basil before the plant flowers, in the middle of the morning after the dew has dried, and start drying promptly.
- A paper bag with vent holes works for small bundles in a warm spot with good airflow, away from direct sun.
- A dehydrator set between 95 and 115 degrees Fahrenheit suits a larger batch, and the leaves are done when they crumble.
- Store the dry leaves in an airtight container, and use about one-third of the fresh amount when you switch to dried basil.
Should you dry basil at all?
The NDSU Extension guide is the most direct on this question. It says, “Drying basil is not the best option because the flavor of the herb changes dramatically.” It then gives instructions for anyone who still wants to dry it. The same guide describes freezing as the other way to preserve basil, and it warns that “basil loses its flavor with time.” If you have a large harvest and want the leaves for cooking, read both methods before you decide.
Dried basil still has uses. The NDSU guide notes that “Dried herbs have a higher concentration of flavor than fresh.” That is why dried leaves can stand in for fresh ones in a recipe, with a smaller amount. The guide’s substitution rule reads: “use only one-third of the amount of dry basil as fresh.” In practice, the dried amount is about one-third of the fresh amount the recipe calls for.
Pick and prepare the leaves
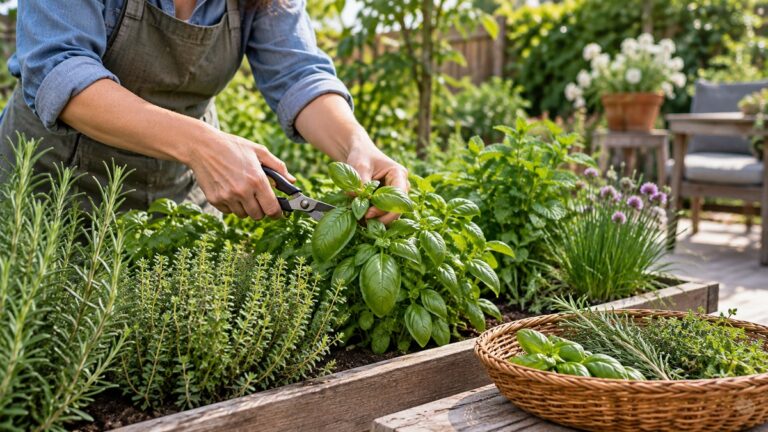
Timing matters more than most people expect. The UC guide on drying herbs says, “Most herbs are best for drying just before the flowers first open.” Basil follows the same rule, so pick the stems before the buds open into flowers. The NDSU guide adds that flowering changes the flavor, and it says to “be sure to pick the flower heads off as soon as you notice them.” The guide explains the reason: “This will make the plant put more of its energy into producing leaves rather than flowers.”
The UC guide also says herbs carry more of their essential oils when they are picked in the middle of the morning, after the dew has evaporated. That is the best window for a harvest you plan to dry. Pick the stems, then bring them inside before the heat of the day. If you grow basil in a pot rather than in a bed, our guide to DIY herb planters is a useful place to start.
Once the leaves are indoors, wash them gently and dry them. The NDSU guide says to “rinse basil under running water and pat dry after harvesting and before storing it to avoid any contamination.” Before drying, separate the leaves from the stems. The NDSU guide gives the instruction plainly: “If you choose to dry, separate each leaf with the stems removed.” Leaves that are not stuck together dry more evenly, which is why the Vermont guide asks for a single layer on the trays.
Air dry in a paper bag
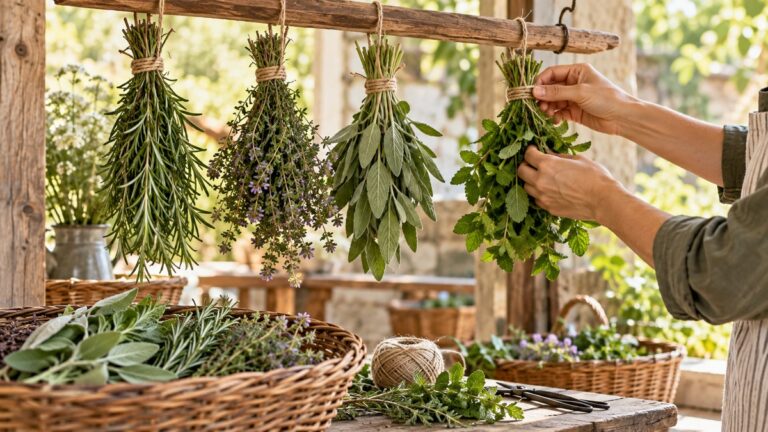
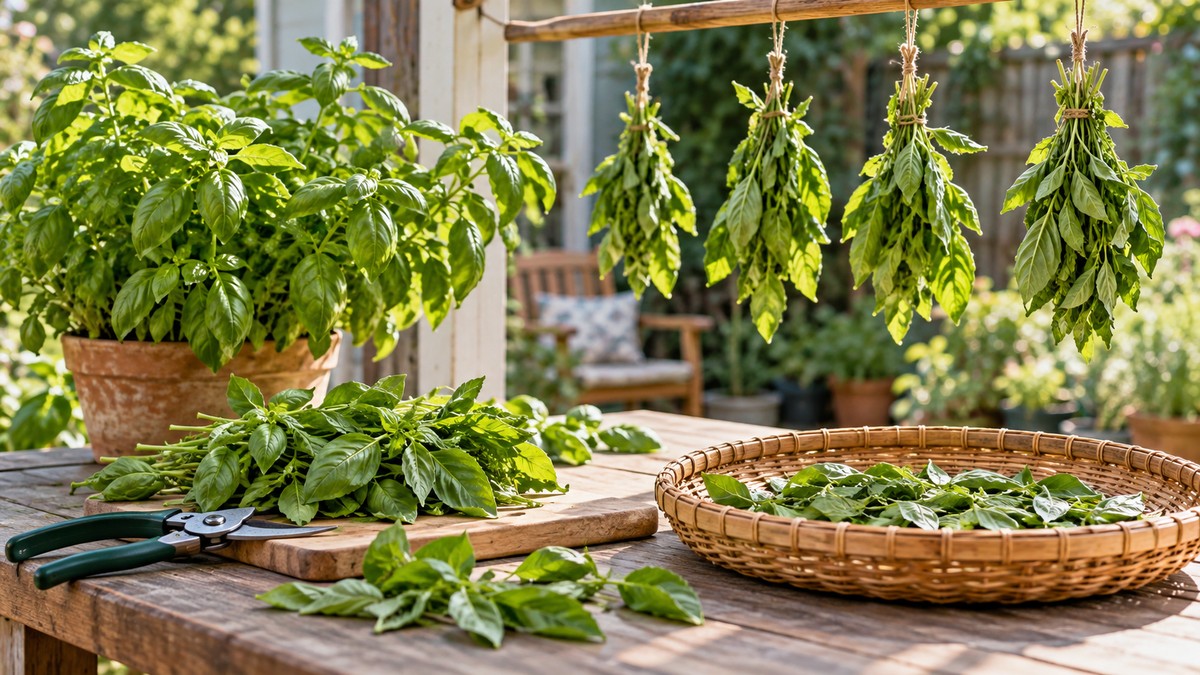
Air drying is the simplest method for a small harvest, but basil is one of the herbs that needs extra care. The Tennessee guide names it directly: “Basil, oregano, tarragon, lemon balm and the mints mold if not dried quickly due to their high moisture content.” The University of Vermont guide offers a practical workaround for basil and mint: “For herbs that hold more moisture in their leaves, like basil and mint, cut some vent holes in a paper bag, place the tied herb bundle inside and hang to dry.”
The bundle size matters as much as the bag. The Tennessee guide advises: “Tie them into small bundles and hang them to dry.” It also warns about the size of the bunch: “If bundles are too large, the herbs will mold.” The same guide suggests hanging herbs “away from the sink, stove or dishwasher where there is moisture.” Keep each bundle small enough that air can reach the middle, and punch the bag so air can pass through it. For other crops that grow well in the same kind of bed, see our guide to vegetables to plant in raised beds.
The Vermont guide describes the conditions that help the bundle dry: “For the most success using this method, you need a warm spot with good air circulation.” It also says that a spot away from the light helps: “If you hang them in a spot away from sunlight, the herbs will retain their color and flavor better.” The Tennessee guide makes the same point about airflow, advising that you “Hang the bags in a place where air currents will circulate through the bag.” The sources do not give a fixed number of days for air drying basil in a bag, so check the bundle by feel rather than by a calendar.
Dry in a dehydrator
A dehydrator gives the most controlled result, and the North Carolina column explains why: “Dehydrator drying is a fast and easy way to preserve large amounts of herbs because temperature and air circulation can be controlled.” It gives a setting: “Set the dehydrator’s thermostat at 95°F to 115°F.” The Tennessee guide uses the same range and adds an allowance for humid kitchens: “If indoor humidity is high, you may need to set the thermostat as high as 125 F.”
The Vermont guide gives a single setting: “Set the dehydrator to 100 degrees Fahrenheit”. That sits inside the North Carolina range. The UC guide gives a narrower range, from 95 to 110 degrees Fahrenheit. The guides agree on the broad window, and any setting in it is a reasonable starting point.
The layout matters as much as the setting. The Vermont guide says to “Set clean, dry leaves on the dehydrator trays in a single layer”, and the Tennessee guide gives the same instruction: “Place herbs in a single layer on dehydrator trays.” A single layer lets air reach every leaf. The Tennessee guide also gives a drying window: “Dry for 1 to 4 hours, checking periodically.” Check on the schedule rather than trusting one timer, and stop when the leaves are done.
Try a microwave for a small batch
The North Carolina column covers the microwave for small amounts: “Microwave ovens are a way to dry herbs when you have only a small amount.” It gives a time range, “Place them in the microwave for 30 seconds to 2 minutes on high power”, and it notes that the time changes with the herb and the oven. “Drying time will vary with the moisture content of the herb, how many herbs you are drying and the wattage of the microwave oven.” Work in short bursts, and check the leaves after each one.
The same column says that thicker leaves may need extra time: “Thicker leaves may need to stand and air dry before they become brittle.” It also gives a safety instruction that applies to every microwave job: “Stay in the kitchen and watch carefully to not burn the leaves or start a fire in the microwave.”
Oven and sun drying: where the sources disagree
The guides disagree about the oven. The Vermont guide describes an oven method at a low setting: “Set your oven as low as possible.” It says to “Put them in the oven, and check after about an hour.” The North Carolina column takes the opposite view: “Oven drying is also not recommended, because even the oven’s lowest temperature destroys much of the flavor, oils and color.” The UC guide also says oven drying is generally not recommended. Because most of the sources advise against it, a dehydrator or a paper bag is the safer choice for basil.
Sun drying is the method the sources agree to avoid. The North Carolina column says plainly, “Sun drying is not recommended because the herbs tend to lose flavor and color.” The Vermont guide keeps the drying spot out of direct sunlight, which is the same point in a different form.
Know when basil is done
The Tennessee guide gives the clearest test: “Herbs are dry when they crumble, and stems break when bent.” The NDSU guide gives the same sign for basil in particular: “Leaves are done when they are completely dry and crumbly.” The Vermont guide adds a note about checking: “Check regularly until they are completely dry.”
A leaf that still bends is not finished. Give the batch more time in the dehydrator or the bag, and check again. Leaves that are only partly dry are the most likely to mold in storage, so do not pack them away until the test passes.
Store the dried leaves
Cool the leaves before you store them. The NDSU guide says so directly: “After leaves are dry and cool, place them in an airtight container and store for up to one year.” The UC guide adds where the jar should live: “Store in a cool, dry, dark place such as cupboards or drawers”. It also warns against exposure: “Avoid exposing dried herbs to air, heat, and light.”
The NC State column explains why the leaves keep their flavor best when whole: “Herbs acquire their fragrance and flavor from oils that evaporate into the air when the leaves are crushed.” Keeping the leaves whole until you need them protects the aroma, and crushing a few just before cooking releases it.
Common mistakes to avoid
The first mistake is letting the leaves stay damp. The Tennessee guide says basil molds if it is not dried quickly, so start drying soon after picking. The second is drying in direct sun, which the North Carolina column says leads to lost flavor and color. The third is using a hot oven, which the same column says destroys much of the flavor. The fourth is storing the leaves before they are dry and cool, which the NDSU guide advises against.
A fifth problem is using dried basil as a straight swap for fresh. The NDSU guide gives the ratio, so reduce the dried amount to about one-third of the fresh amount in the recipe.
How we chose
We chose the steps that the pages we opened state in plain words, and we kept the points that more than one guide covers. Where two guides disagree, both views appear. The four drying guides are an NDSU Extension publication, a University of Vermont Extension article, a North Carolina Cooperative Extension column for Brunswick County, and a University of Tennessee Extension sheet. The UC guide on drying herbs supplies the harvest timing, the mid-morning window, the storage advice and the view on oven drying. We did not rank the methods, and each method is described the way its source describes it.
What we could not verify
What the sources do not say
The sources do not agree on the oven, and the dehydrator ranges differ slightly. The Vermont guide gives a low oven setting, while the North Carolina column and the UC guide advise against oven drying. The dehydrator range is 95 to 115 degrees Fahrenheit in the North Carolina and Tennessee guides, and 95 to 110 degrees in the UC guide. The sources also do not give a fixed drying time for basil in a paper bag.
The pages we opened do not give a yield figure, such as how many leaves make a measured amount of dried herb, and they do not compare the flavor of basil dried in a bag with basil dried in a dehydrator. They do not say how long dried basil keeps its flavor beyond the one-year figure from NDSU. Freezing is the other preservation route the NDSU guide describes, and the sources we opened treat it separately from drying.
Frequently asked questions
Is drying the best way to keep basil?
The NDSU guide says drying basil is not the best option, because the flavor changes dramatically. It describes freezing as the other way to preserve basil, and the other guides treat drying as workable when the leaves dry quickly.
How long does it take to dry basil?
There is no single time that fits every method. The Tennessee guide gives 1 to 4 hours in a dehydrator, and the sources we opened give no fixed time for a paper bag. Check the leaves and stop when they crumble.
What temperature should a dehydrator be set to for basil?
The North Carolina column recommends 95 to 115 degrees Fahrenheit, and the Tennessee guide uses the same range with a higher setting for humid kitchens. The Vermont guide uses 100 degrees Fahrenheit, and the UC guide gives 95 to 110 degrees.
How much dried basil should replace fresh basil?
The NDSU guide says to use only one-third of the amount of dry basil as fresh. In practice, the dried amount is about one-third of the fresh amount the recipe calls for.
How do you know when dried basil is ready to store?
The Tennessee guide says herbs are dry when they crumble and stems break when bent. The NDSU guide says the leaves should be completely dry and crumbly, and cool, before they go into an airtight container.
Bottom line
Dry basil quickly, in a paper bag with vent holes or in a dehydrator set between 95 and 115 degrees Fahrenheit, and store the crumbled leaves in an airtight container. Where the sources disagree, follow the drier, lower-heat method, and use the dried leaves in about one-third of the fresh amount.
Sources
- https://www.ndsu.edu/agriculture/extension/publications/field-fork-basil (opened 2026-10-22)
- https://www.uvm.edu/extension/news/drying-garden-herbs (opened 2026-10-22)
- https://brunswick.ces.ncsu.edu/news/preserving-herbs (opened 2026-10-22)
- https://lawrence.tennessee.edu/wp-content/uploads/sites/116/2023/06/Drying-Herbs.pdf (opened 2026-10-22)
- https://ccfruitandnuts.ucanr.edu/sites/default/files/2020-10/337975.pdf (opened 2026-10-22)
As an Amazon Associate we earn from qualifying purchases.