How to Water Several Raised Garden Beds
As an Amazon Associate we earn from qualifying purchases.
How to water multiple raised garden beds starts with the supply line, not the nozzle. The Clemson drip factsheet lists the parts of a home system and the order to set them, and the Oregon State tips describe a basic layout that starts at an outdoor spigot. The K-State raised-bed guide sets the amount each bed needs, so one system has to deliver that amount to every bed on the line. This guide walks through the layout, the parts, the spacing and the timer settings the sources give.
Quick answer
- Start the line at the spigot with a timer, then a pressure regulator and a filter, as both sources describe.
- Use coupling valves so that beds with different needs can be shut off separately.
- Pick emitter spacing by soil type: closer in sandy soil, wider in clay.
- Start with the Clemson timer windows for your soil, then dig to check each bed.
Map the beds before you buy parts
Count the beds first, then note how far each one sits from the spigot and how much sun and wind it gets. The K-State guide says that “If the temperature is above average, or if the bed is in full sun and exposed to high wind, more frequent watering may be needed.” A bed in full sun can therefore need a different run from a shaded bed, and a single timer may have to serve more than one schedule.
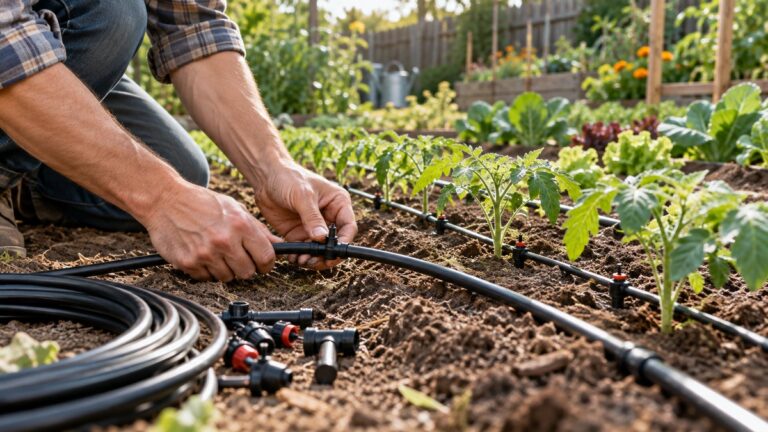
The supply line can be simple. Clemson says that distribution lines “can be as simple as a garden hose or flexible plastic tubing laid on the ground, or PVC buried underground for a more permanent setup.” The Oregon State tips add that “A low-flow system is easy to install because the supply lines can be placed on the soil surface rather than in a trench.” The same source notes that “it will be easy to modify during setup and, even during later years, as the plants grow or when you change your plantings.” A surface line keeps that flexibility.
Choose a system for each bed
Clemson sorts the options by bed size. Its quick guide says: “Small gardens and raised beds: Soaker hoses or drip emitters. Longer rows and larger areas: Drip emitter tubing or drip tape.” The table uses Clemson’s own columns, so the flow figures are the factsheet’s and not our measurements.
| System | Clemson’s best use | Flow rate listed by Clemson |
|---|---|---|
| Soaker hose | Small home gardens, raised beds | 0.5-1 gallon/foot/hour |
| Drip emitters | Small home gardens, raised beds | 0.5-4 gph/emitter |
| Drip emitter tubing | Larger gardens or beds | 0.5-1 gph/emitter |
| Drip tape | Large gardens, fields | 0.2-1 gallon/minute/100 ft. |
Soaker hoses are the simplest option. The factsheet says they “slowly release water through pores along the length of the hose”, and that they “are less precise than other systems, but are the simplest to install as they attach easily to water spigots and other hoses.” Emitters are more exact: “Drip emitters are very efficient as they can be inserted at the base of each plant, precisely where water is needed.” The Oregon State tips add a reason to care about the system: low-flow systems, compared with hand or sprinkler watering, “can save up to 50% water.”
Build the line in order
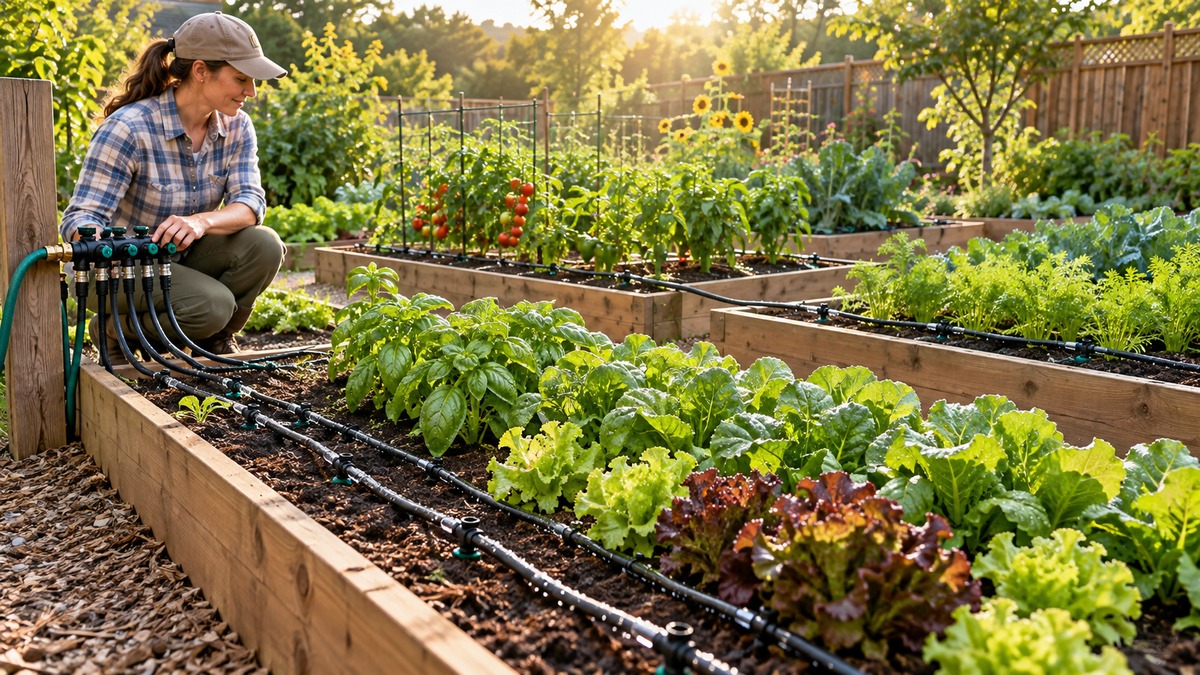
The Oregon State tips list the parts for a basic drip system in order: “A drip system, in its simplest form, begins at an outdoor spigot, then adds these components in this sequence: timer (mechanical or battery-run); backflow preventer; pressure regulator; filter; tubing adapter; supply tubing; and an end cap.” The Clemson factsheet gives the same logic for a timer: “If a timer is used, attach it directly to the spigot, then attach a pressure regulator and filter to the timer’s outgoing side”.
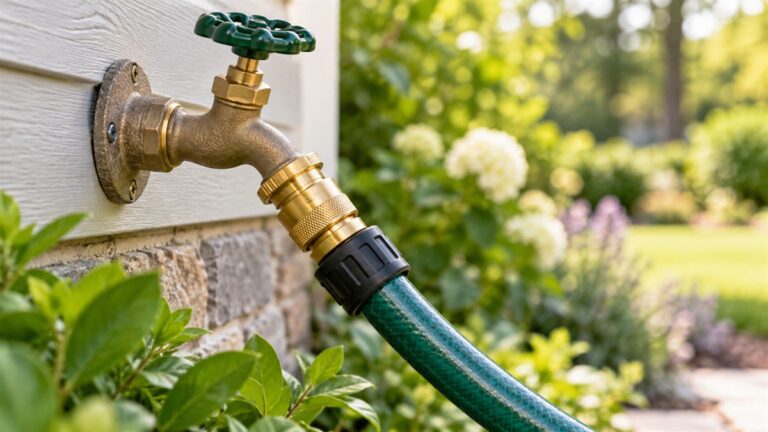
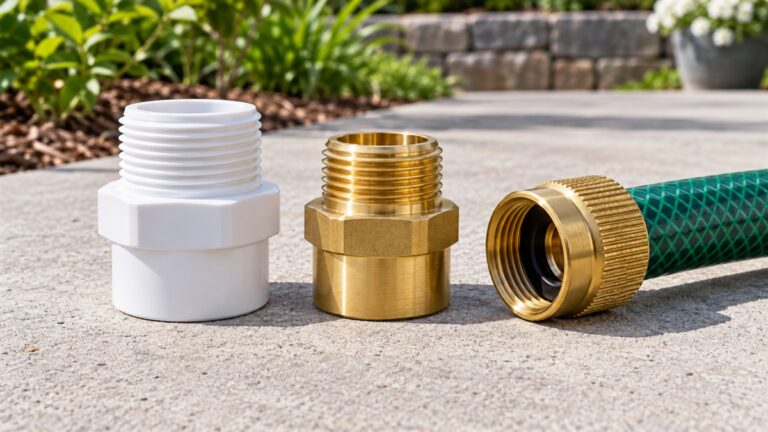
Next comes the main line. Clemson says to “run the line along one side of the garden perpendicular to the rows”, and then to run tubing or drip tape along each row, “using tees or barb connectors to connect each line to the main distribution line”. For raised beds rather than rows, treat each bed as a row and run a short branch to it from the main line. Clemson lists an adapter as the part that connects the distribution tubing to a standard spigot, and for that fitting see hose to drip irrigation adapters.
The pressure regulator needs the right rating. Clemson gives the operating pressure: “Use regulators appropriate for the type of system being installed (25psi for soaker hose/drip emitters, 10 to 12psi for drip tape).” The Oregon State tips add a habit that protects the regulator: “Avoid overwhelming the pressure regulator by turning on the faucet only part way.”
Use coupling valves for beds with different needs
Coupling valves matter most when the line serves several beds. Clemson describes them this way: they “Join two pieces of tubing, but also have a valve that can turn off water flow downstream of the valve.” The factsheet explains why that matters: “These are helpful when multiple beds or rows are connected to the same system but have differing water requirements.” A bed in full sun may need a longer run than a shaded bed, and a valve lets you shut off one bed without changing the others.
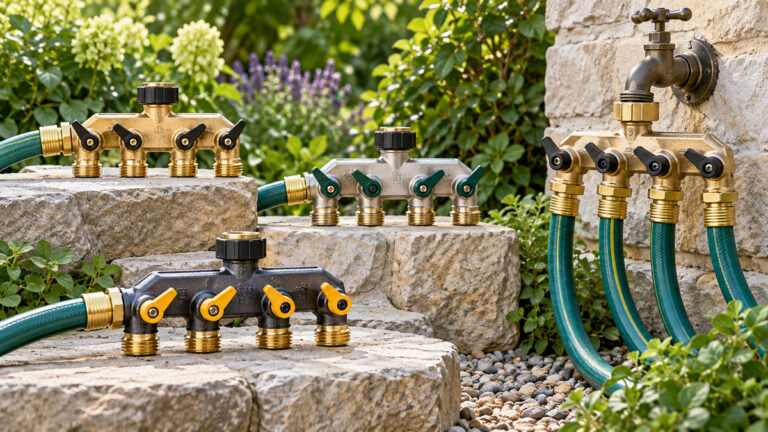
A fitting that splits one line into several outlets is a different part, and the sources do not describe splitters or say how many outlets one spigot can feed. For a fitting of that kind, see heavy-duty four-way hose splitters, and confirm the outlet count against your own supply.
Space the emitters by soil
Spacing depends on the soil. Clemson says that “Closer emitter spacing is more appropriate for sandy soil, while wider emitter spacings can be used with heavier clay soil.” Its table gives starting spacing for annual fruits and vegetables, which covers most raised beds, in the table below.
| Plant type | Sandy soil | Clay soil |
|---|---|---|
| Annual fruits and vegetables | 6-10 inches | 8-12 inches |
| Perennial fruits | 12 inches | 24 inches |
| Ornamental trees and shrubs | 12 inches | 24 inches |
Place each emitter where the roots are. The Clemson factsheet’s point about emitters at the base of each plant applies here, and a bed of mixed plants may need emitters placed around the plants rather than at fixed intervals. Confirm each spacing choice with a dig check after the first run, as covered below.
Set run times by soil type
Clemson’s timer advice starts with the soil. For sandy soil, “two 20-minute windows per day are usually preferred over one 40-minute window.” The factsheet suggests this starting schedule: “To start, schedule a 20-minute window mid-morning and another mid-afternoon each day.” For clay soil, it suggests fewer, longer runs: “Start by scheduling a 30-minute window mid-morning every other day.”
Those numbers are starting points. The factsheet says that “Adjusting irrigation timers is largely a trial-and-error process and may take a little time to get right.” It also says timers are optional: “Timers are optional, but are great for gardeners with limited spare time.” If one line feeds several beds on one timer, the run time for the line is the total of the windows, as the arithmetic below shows. The window per bed is our example, not a source figure.
| Beds on one timer | Window per bed (minutes) | Total line run (minutes) |
|---|---|---|
| 3 | 20 | 3 x 20 = 60 |
| 4 | 20 | 4 x 20 = 80 |
The table assumes each bed takes its own window in turn. If you use coupling valves to open beds separately, the line time can change, and the sources do not say how to add the times in that case.
Check each bed after the first run
The Oregon State tips say that after installation “you’ll need to do an easy experiment in order to obtain the answers for several critical questions: how far apart to place the drippers or soakers; how long to run the system; and how often.” Those three answers match the three decisions in this guide: spacing, run time and frequency.
The check is the same dig used for a single bed. “Start by turning on the water for an hour, stop for at least an hour, then dig in the soil to see how wide and deep the moisture penetrated.” Check a bed at the far end of the line as well as one near the spigot, so you can see that every bed gets water.
If a bed stays dry at depth, the same source says to “move the dripper or soaker to a new place on the soil, then turn on the water for longer than the first time, wait an hour or so, and check the soil again.” Change one thing at a time, so you know which change made the difference.
Water in the morning and watch the length
The Oregon State tips say to “Water early in the morning when the air is cool, wind is low, and water pressure is higher on municipal systems.” The Clemson windows also start in the morning and mid-afternoon, so a morning run fits the same pattern.
The same tips warn about length: “But such systems can also waste considerable water whenever allowed to run for too long a time.” Clemson adds that “Scheduling adjustments may be needed throughout the season as the weather warms in the spring and cools in the fall.” Review the run time at each change of season rather than setting it once.
Keep the lines covered and clean
Clemson recommends covering the lines: “It’s a good idea to cover the drip lines with mulch or straw.” The filter has a job too. The factsheet says a filter helps “prevent debris from entering and blocking emitters”, and it adds: “Clean filters regularly to ensure they are not impeding water flow.” Because the filter sits on the main line, a clogged filter affects every bed downstream of it.
Mistakes to avoid
- Skipping the regulator. Clemson says pressure regulators are “Needed to ensure that water pressure, whether from a well or municipal source, does not damage the irrigation equipment”.
- Giving every bed the same run time, even when their needs differ. The factsheet notes that beds can have “differing water requirements”.
- Running long windows on sandy beds. The factsheet says it is “usually better to have more frequent, shorter application windows rather than fewer, longer ones.”
- Skipping the dig check after the first run, which is the only way to confirm spacing and length.
- Letting the filter clog. Clean it regularly, because the factsheet says a blocked emitter line loses water.
How we chose
We chose three pages that we could open with curl and read: the K-State raised-bed publication, the Oregon State watering tips, and the Clemson drip factsheet. Together they cover raised-bed amounts, the parts of a drip system, emitter spacing and timer starting points. We quoted only sentences we found word for word in the fetched text. Retail pages that list parts were left out, because a parts list is not a process source. The pages were opened on 2026-10-22.
What we could not verify
What the sources do not say
The sources do not say how many beds one spigot can feed, how far a line can run before the flow drops, or what flow a given spigot delivers. Clemson gives flow rates for each system type, but not for your supply. The Clemson factsheet also says that “All recommendations are for South Carolina conditions and may not apply to other areas.”
The sources do not give a run time for a line that serves several raised beds, and the Clemson timer numbers are starting points for drip systems. The K-State publication is dated January 2008, and the Oregon State tips describe a layout in general terms rather than for a bed of a given size. Prices, brands and product choices are outside these sources, so this guide makes no product claim.
Frequently asked questions
Can one hose line water several raised beds?
The sources describe the main line as the piece that carries water out to the rows. Clemson describes a distribution line as something that can “Move water from the water source out to the garden/bed.” For beds, run a branch to each one from the main line, and check the bed at the far end.
Should every bed get the same timer setting?
Not always. Clemson notes that beds and rows can have “differing water requirements”, and coupling valves let you shut off one bed without changing the others. Set the schedule for the bed that dries fastest, then check the rest with the dig check.
What spacing should emitters use in a raised bed?
For annual vegetables, the Clemson table gives 6 to 10 inches in sandy soil and 8 to 12 inches in clay soil. Use the closer figure for sandy soil. The sources do not give spacing for any particular mix of plants in a bed.
How long should a drip timer run?
Clemson’s starting points are two 20-minute windows a day for sandy soil, and one 30-minute window every other day for clay. Adjust from there, and check the soil depth after each change. The sources do not give one time that fits every bed.
Do you need a pressure regulator?
Clemson says regulators are needed “to ensure that water pressure, whether from a well or municipal source, does not damage the irrigation equipment”. Use the rating for your system type, which the factsheet gives as 25 psi for soaker hose and drip emitters, and 10 to 12 psi for drip tape.
Sources
- https://bookstore.ksre.ksu.edu/download/watering-raised-beds-berms-containers-and-houseplants_MF2805 (opened 2026-10-22)
- https://extension.oregonstate.edu/sites/extd8/files/documents/12281/wateringtips.pdf (opened 2026-10-22)
- https://hgic.clemson.edu/factsheet/installing-drip-irrigation-in-home-gardens/ (opened 2026-10-22)