How to Set Up Drip Irrigation for a Garden
As an Amazon Associate we earn from qualifying purchases.
How to set up drip irrigation for garden beds comes down to four decisions: the water supply, the tubing, the emitter spacing and the watering schedule. Clemson Extension describes the parts a home system needs, and other university publications add filter, spacing, backflow and run-time detail. The steps below follow that order, from the spigot out to the bed.
Clemson Extension calls drip irrigation highly efficient for home gardens because it places water at the root zone. Where the sources give a range, this guide shows the range. Where they disagree or stay silent, a later section says so.
Quick answer
- Put a filter and a pressure regulator at the start of the system. Clemson Extension says a filter is a must when watering from a well.
- Match the tubing to the bed. Soaker hoses and drip emitters suit small gardens and raised beds, while emitter tubing or drip tape suits longer rows.
- Space emitters to the soil. Clemson says sandy soil needs closer spacing than heavy clay.
- Cover the lines with mulch, then set the timer by checking the soil rather than the calendar alone.
Choose the system for each bed
Clemson Extension says “Drip irrigation is highly efficient for watering home gardens.” The reason is placement. “Water is applied directly to the root zone, maintaining consistent soil moisture, minimizing evaporation and runoff, and promoting deeper root growth.” The harder question is which tubing to buy, and Clemson advises choosing by garden or bed size, plant spacing, soil type and texture, and water source.
| Option | Where Clemson suggests using it | What the factsheet says about it |
|---|---|---|
| Soaker hose | Small gardens and raised beds | Releases water slowly through pores along its length, and is the simplest to install |
| Drip emitters | Small gardens and raised beds | Inserted into distribution tubing at the base of each plant |
| Drip emitter tubing | Longer rows and larger areas | Evenly spaced emitters at 6 to 24 inches |
| Drip tape | Longer rows and larger areas | Evenly spaced emitters at 6 to 12 inches |
UC ANR’s food-garden guide takes a stricter line for vegetables. It says “But we discourage the use of drip tape and soaker hoses as they are notorious for breaking and leak more water than drip emitters.” Its preferred setup is drip tubing with pressure-compensating emitters, which holds flow steady along the line.
Start at the spigot with a filter and regulator
Clemson lists the main parts as a water source, a distribution line, a filter, a pressure regulator, fittings, and the emitters or tubing itself. It adds that “Filters and pressure regulators are sold separately.”
The filter comes first for a reason. Clemson says that “While using a filter is recommended for municipal water sources, it is a must when watering from a well.” NMSU’s publication on low-pressure drip for small plots describes two small-system filter types, screen and disk. Its screen filters have mesh sizes from about 50 to 200. It also states that “Disk filters are better at filtering organic matter (e.g., algae cells) than screen filters.” If your water comes from an open source such as an irrigation ditch, NMSU warns that “If the water comes from an irrigation ditch and has a heavy silt load, filters may require cleaning after every irrigation or even during irrigation.”
Clemson also says that “Clean filters regularly to ensure they are not impeding water flow.” Set a routine for that task, and check the filter whenever the flow at the far end of a line drops. A clogged filter starves every line downstream of it.
The pressure regulator is the second part to set. Clemson explains that a regulator is needed “to ensure that water pressure, whether from a well or municipal source, does not damage the irrigation equipment.” The settings are specific: “Use regulators appropriate for the type of system being installed (25psi for soaker hose/drip emitters, 10 to 12psi for drip tape).” Match the regulator to the tubing you buy, not to whatever hose is already on the reel.
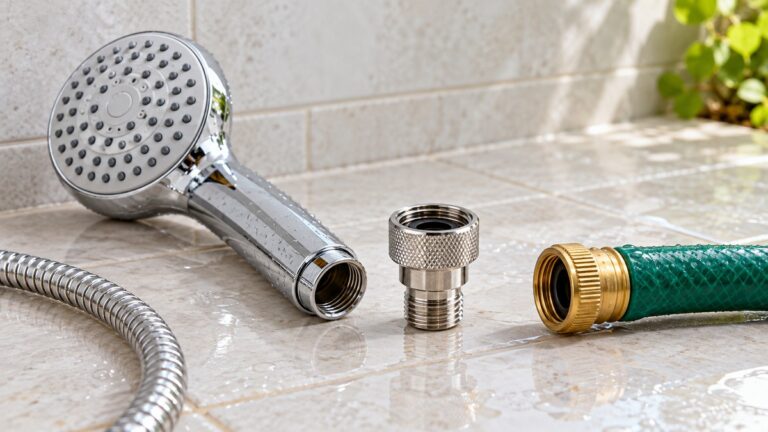
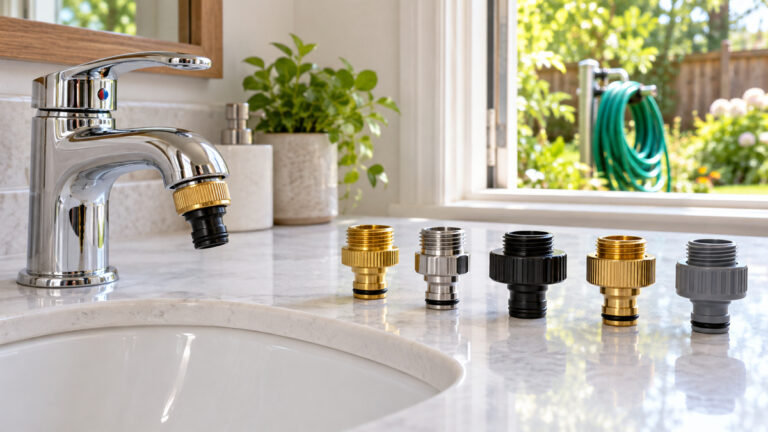
Clemson notes that distribution tubing for home gardens is most commonly sold in ½-inch and ¼-inch sizes. If the hose end is the part you are unsure about, see our page on garden hose to drip irrigation adapters before you buy connectors.
Check the backflow rule before you connect
NMSU raises a point that is easy to miss on a home system. It says that “A backflow prevention device is required in drip systems connected to a municipal or other potable water source.” The device stops irrigation water from being drawn back into the household supply if pressure drops suddenly, for example when a main is closed or leaks.
NMSU also points out that “In most urban areas, regulations specify what particular backflow prevention devices and installation procedures are required to legally comply with local building codes.” The rule is local, so check with your city or county before you connect the system to the house supply. The sources do not name a device or a code for any particular town.
Lay the lines along each row
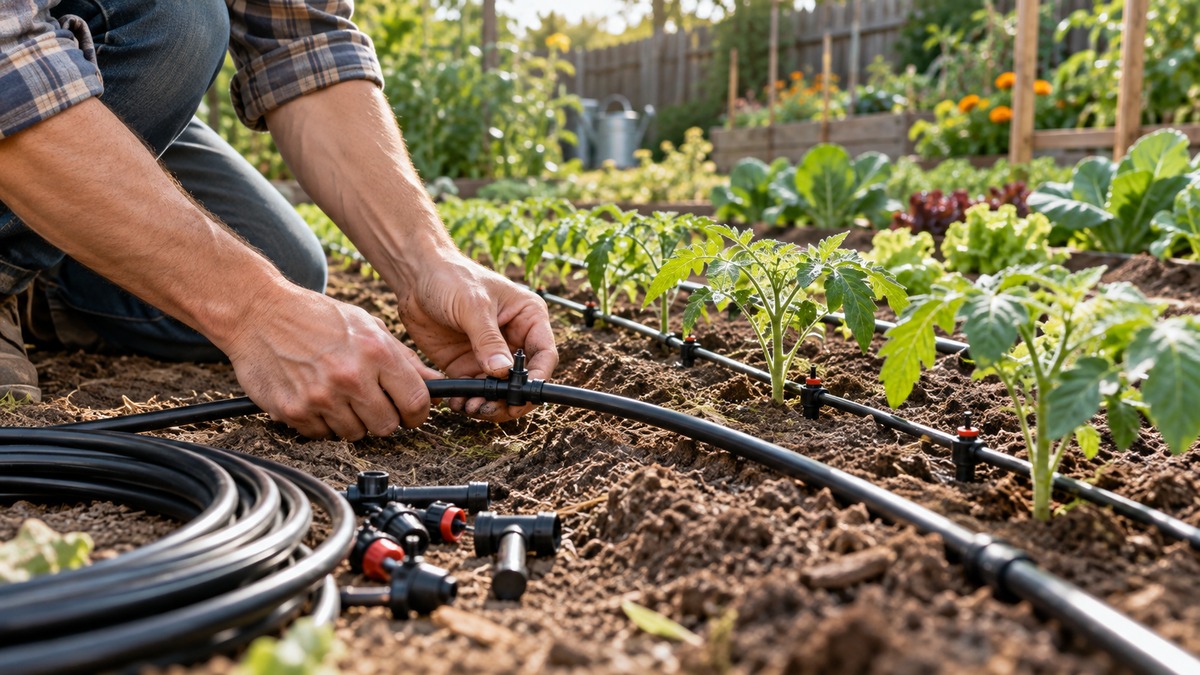
Clemson’s installation notes say that “Thicker tubing and drip tape should be laid along each row and connected to a main header or distribution line.” The main line carries water from the supply, and each row line branches from it. Clemson lists the fittings you will need to build that layout, including elbows, end caps, tees and couplers. Penn State’s worked example assumes roots spread about 30 inches, which is generally the width of most beds, and the time to apply an inch of water depends on that width and the tube’s flow rate.
Clemson’s fittings list starts with elbows, which are “Needed where tubing needs to make a 90-degree turn.” Couplers “are also helpful for repairing damaged tubing.” Tees split or combine the flow, and end caps close off the ends of a row. Coupling valves, which the factsheet describes as a coupler with a valve, can shut off the water downstream of that point.
UC ANR’s food-garden guide sets the tubing on the soil rather than under it. “It will be easier to observe its operation and make repairs if the drip is on top of the soil.” It then adds a cover, saying “Cover the drip line with mulch to protect it from direct sun light and extend its life.” Clemson makes a similar point, advising that “It’s a good idea to cover the drip lines with mulch or straw.”
UC ANR also recommends a valve on each line. “Place a shut-off valve on each drip line connected to the supply line.” The same guide gives the reason: “This will allow you to turn off lines to areas that are fallow.” In its example bed, “The end of the supply line is capped,” which is a useful picture to copy when you plan where each line ends.
Set emitter spacing to the soil and plants
Spacing is where most decisions sit. NMSU says that “Emitter spacing may range from 8 to 48 inches or more, and the tubing or tape may be laid above or below the soil surface (subsurface drip or SDI).” Clemson’s ranges are narrower and tied to each product. Its emitter tubing has evenly spaced emitters at 6 to 24 inches, and drip tape has emitters at 6 to 12 inches.
Soil type decides where in each range you land. Clemson says that “Sandy soil generally requires closer emitter spacing and shorter, more frequent irrigation windows.” It adds that “Heavier clay soil may use wider emitter spacing and longer, less frequent irrigation windows.” If you are unsure of your soil type, your local extension office can help you identify it.
Our own arithmetic shows how spacing changes the count on one line. The table divides an 8-foot line, which is 96 inches, by each spacing and keeps whole intervals. It ignores fittings and any end allowance.
| Spacing (inches) | Emitters on one 8-foot line (96 ÷ spacing) | Emitters on three 8-foot lines |
|---|---|---|
| 6 | 96 ÷ 6 = 16 | 16 × 3 = 48 |
| 12 | 96 ÷ 12 = 8 | 8 × 3 = 24 |
| 24 | 96 ÷ 24 = 4 | 4 × 3 = 12 |
The three-line layout comes from UC ANR’s example, which uses “Three 1/2″ drip tubing lines with in-line emitters on 1 foot centers (i.e., emitters are 12″ apart) run over the top of the soil.” That guide also explains why the emitter type matters on a long run: “Pressure-compensating inline emitters will apply water uniformly.” It adds that “This will ensure that plants at the end of the drip line receive their share of water.”
Set the run time and check the soil
Emitter flow is listed in gallons per hour, which is hard to read in inches of water. Utah State gives a formula for inline drip that converts flow and spacing into inches per hour, so you can compare a run with the water a bed needs.
Clemson describes timer setting in plain terms. “Adjusting irrigation timers is largely a trial-and-error process and may take a little time to get right.” For annual vegetables, the goal is to “aim to keep the soil moist, but not saturated, so that plants will not wilt in the heat of the day.” Perennial fruits, shrubs and trees need less frequent watering, so a flower bed with a mix of plants may need two schedules.
In sandy soil, Clemson advises short, repeated runs. “To avoid excessive leaching, it is usually better to have more frequent, shorter application windows rather than fewer, longer ones.” Its example is concrete: “For example, two 20-minute windows per day are usually preferred over one 40-minute window.” Clay soil holds more water, and Clemson says that “Since clay soil holds more water, annual fruits and vegetables may only need water 2 to 3 times per week.”
Use the first week to learn how your bed behaves. Look for wilting in the heat of the day, and for standing water after a run. Adjust the timer after each change. A timer is optional, as Clemson notes, but it makes these repeated runs easier to keep.
Keep the system working through the season
Clean the filter regularly, as Clemson advises, and check it whenever the flow drops. A shut-off valve on each line lets you close off a bed that is resting, which is the use UC ANR describes for fallow areas. For a valve at the hose end, see our page on garden hose connectors with a shut-off valve.
Mulch does two jobs on a drip line. It keeps the tubing out of direct sun, which UC ANR links to a longer line life, and it holds moisture in the soil above the emitters.
Common mistakes to avoid
- Skipping the filter on well water. Clemson says a filter is a must in that case.
- Setting the regulator for the wrong system. Clemson gives 25 psi for soaker hoses and drip emitters, and 10 to 12 psi for drip tape.
- Using one spacing for every bed. Clemson ties spacing to soil type, so sandy and clay beds need different plans.
- Leaving tubing in direct sun. UC ANR says a mulch cover protects the line and extends its life.
- Connecting to house water without a backflow device. NMSU says one is required on a potable supply.
- Choosing drip tape or soaker hoses for food plants without a plan for breakage. UC ANR discourages both for vegetable gardens.
How we chose
This guide sets out a method, not a list of products. The pages we opened on 2026-10-22 were Clemson Extension’s factsheet on installing drip irrigation in home gardens, New Mexico State University’s publication on low-pressure drip for small plots, UC ANR’s food-garden drip guide, Utah State’s vegetable water page, and Penn State Extension’s page on drip run times. We kept the steps and numbers that one of these pages states in plain words. Where two pages gave different advice, as they did on soaker hoses for vegetables, we show both views.
We left out brand names, prices and kit comparisons, because this guide is about setting up a system rather than choosing one.
What we could not verify
What the sources do not say
The pages we opened do not give one run time for every garden, so the schedule depends on your soil and plants. They do not describe winterizing or storage, and they do not cover well pumps or the water pressure at a particular house. NMSU’s publication includes a small-plot cost table, and this guide does not reproduce those figures. UC ANR’s example says “The emitters are 1/2 GPH (gallons per hour).” The page does not say that this rate suits other systems, so check the emitter label for your own setup.
The sources give a broad filter mesh range, and the right mesh depends on the water you have. Read the filter label and the emitter label, and follow the manufacturer’s directions for both.
Frequently asked questions
Does a garden drip system need a pressure regulator?
Clemson Extension lists a regulator as a needed part, and it gives separate settings for each type of tubing. The factsheet puts soaker hoses and drip emitters at 25 psi and drip tape at 10 to 12 psi. Match the setting to the tubing you install.
Is a filter needed if my garden runs on city water?
Clemson recommends a filter for municipal water and calls it a must for a well. The filter helps keep debris out of the emitters, so a city connection still benefits from one.
How far apart should drip emitters be placed?
Clemson gives 6 to 24 inches for emitter tubing and 6 to 12 inches for drip tape. NMSU gives a wider range of 8 to 48 inches or more. Sandy soil calls for closer spacing than heavy clay, so start with the soil before you pick a number.
Should drip lines go under mulch?
UC ANR says a mulch cover protects the line from direct sun and extends its life. Clemson recommends mulch or straw as the cover. Neither UC ANR nor Clemson gives a depth for mulch over drip lines, so start with a light layer that still lets you see the tubing when you check it.
Are soaker hoses a good choice for a vegetable bed?
Clemson calls soaker hoses the simplest to install and best for small areas. UC ANR discourages soaker hoses and drip tape for food gardens because they break easily and leak more water than drip emitters. Weigh the two views against the size of your bed and how carefully you can maintain the line.
Bottom line
Match the tubing to the bed, put a filter and a pressure regulator at the start, and space the emitters to your soil. Then set the run time by checking the soil, not by a fixed guess.
Sources
- https://hgic.clemson.edu/factsheet/installing-drip-irrigation-in-home-gardens/ (opened 2026-10-22)
- https://pubs.nmsu.edu/research/agmech_eng/RR773/index.html (opened 2026-10-22)
- https://innovate.ucanr.edu/sites/default/files/2025-11/Drip-irrigation-in-the-food-garden-204865.pdf (opened 2026-10-22)
- https://extension.usu.edu/yardandgarden/research/water-recommendations-for-vegetables.php (opened 2026-10-22)
- https://extension.psu.edu/determining-how-long-to-run-drip-irrigation-systems-for-vegetables (opened 2026-10-22)